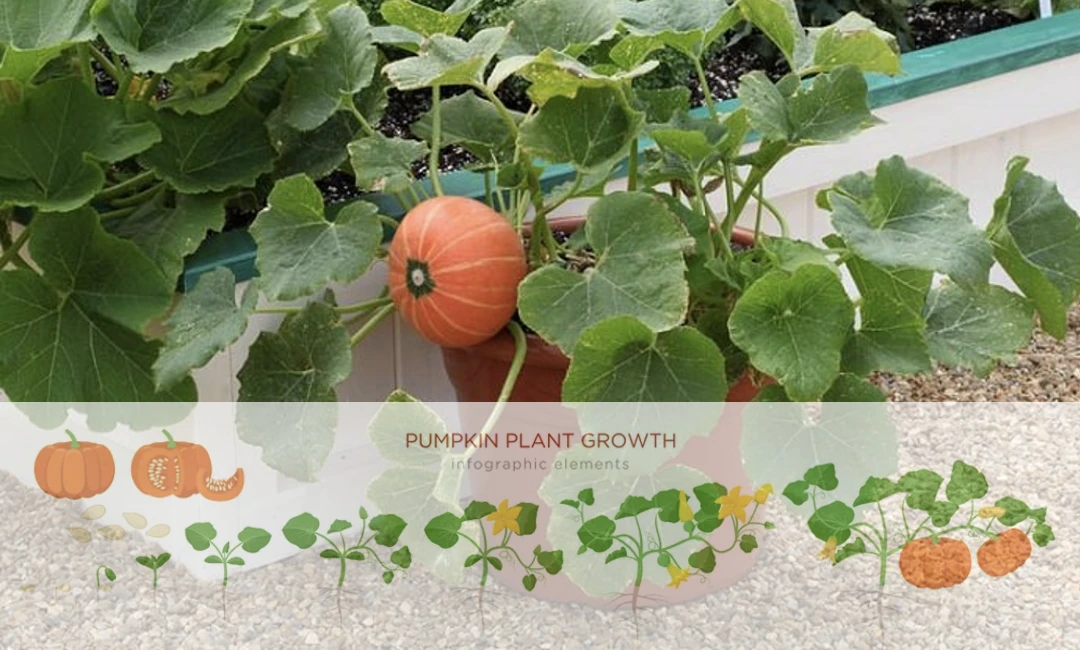
Pumpkin growing stages are the different stages of the pumpkin’s growth and development. Pumpkin growers follow these stages in order to ensure that they get the best possible harvest. For those wondering ”what does a pumpkin plant look like”, don’t worry. We’ve made sure to implement lots of images of all parts of a pumpkin.
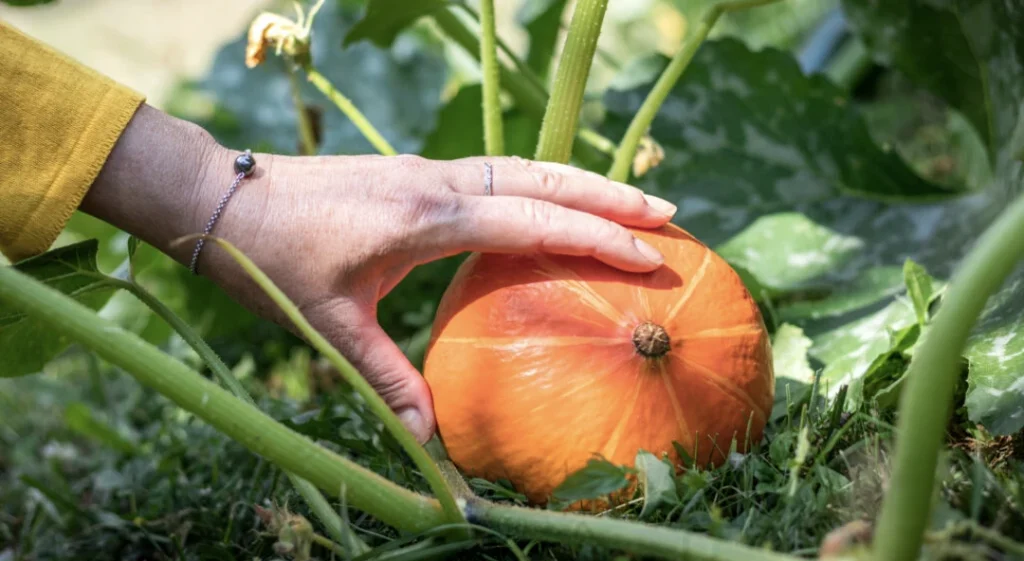
During the mature pumpkin plant stages, carefully monitor the undersides of pumpkins for pests, pest eggs, excess moisture, and bruises.
For your convenience, we will display many pictures of what a pumpkin plant does look like when it’s healthy.
If moisture gets too severe and there’s no drainage – rot may set in from underneath.
Pumpkins are a warm-weather crop that grows best in soil that is moist but not soggy. They will grow in wet soil, but they will not thrive and may rot. Onto the pumpkin growing process:
The Pumpkin Growing Stages:
Pumpkin growing stages are the three major phases of pumpkin development. These stages include seed germination, vegetative growth, and fruiting.
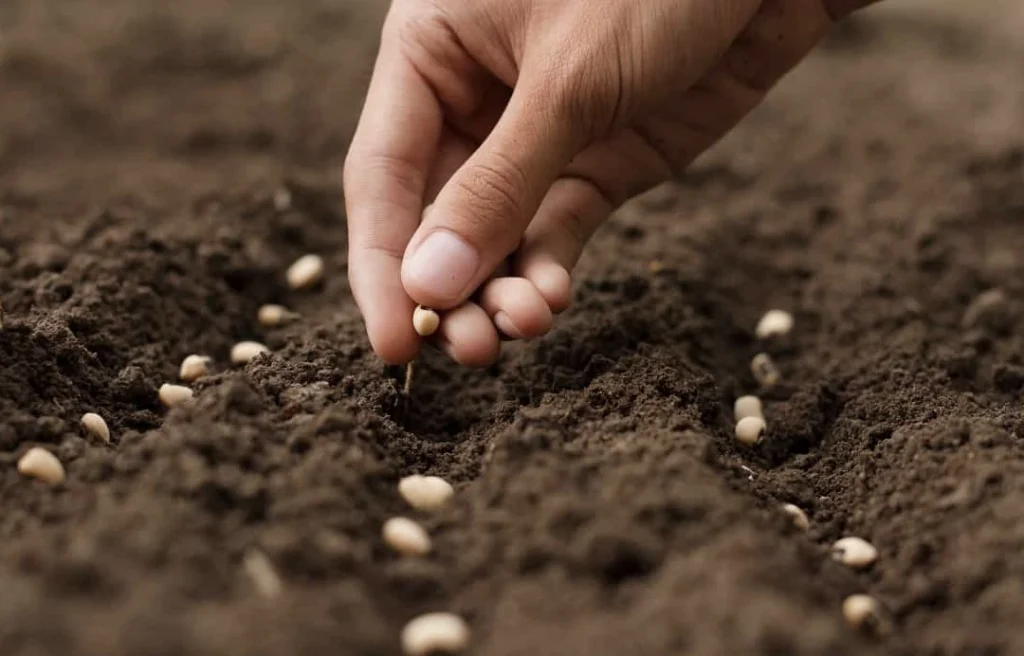
Stage 1 – Planting the seeds
Stage one is the planting process.
If you want to have pumpkins ready for Halloween, plant the seeds in late July. Make sure to water them regularly and keep an eye on the pests that might try to eat your plants!
Pumpkin seeds may be sown straight into your garden soil at a depth of 1 to 2 inches, or place them in a pot and transplant them outdoors when they reach the size you want them.
There are many different varieties of pumpkins, but for home growing purposes they fall into three main categories: sweet, savory, and pie.
For best results, plant the seeds a little deeper than usual to ensure they have enough room to grow.
Stage 2 – Germination
Pumpkin seeds take about 8 to 10 days to germinate.
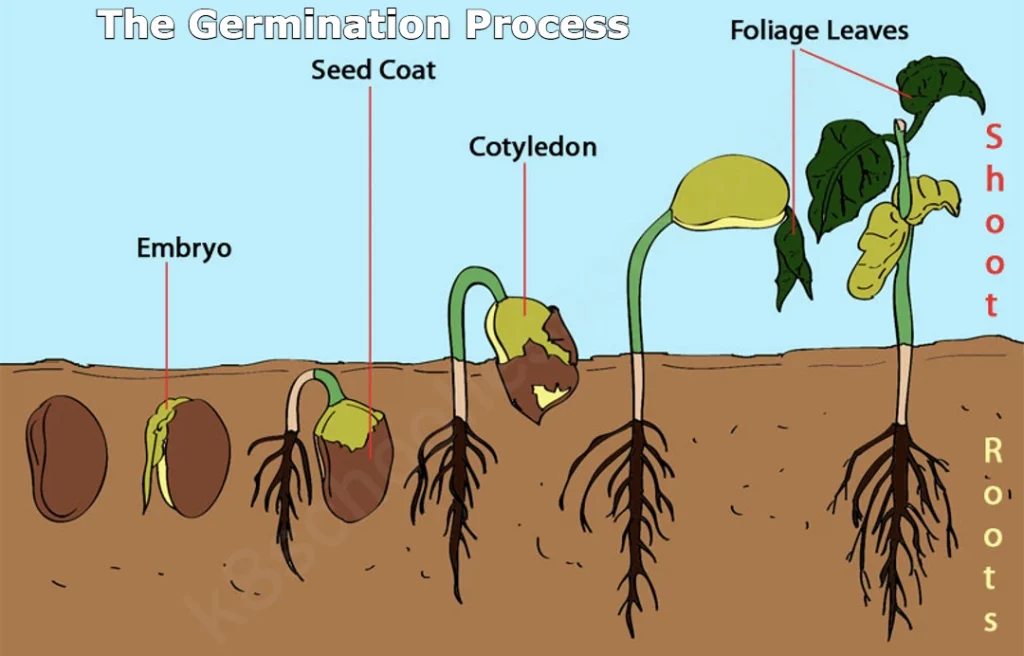
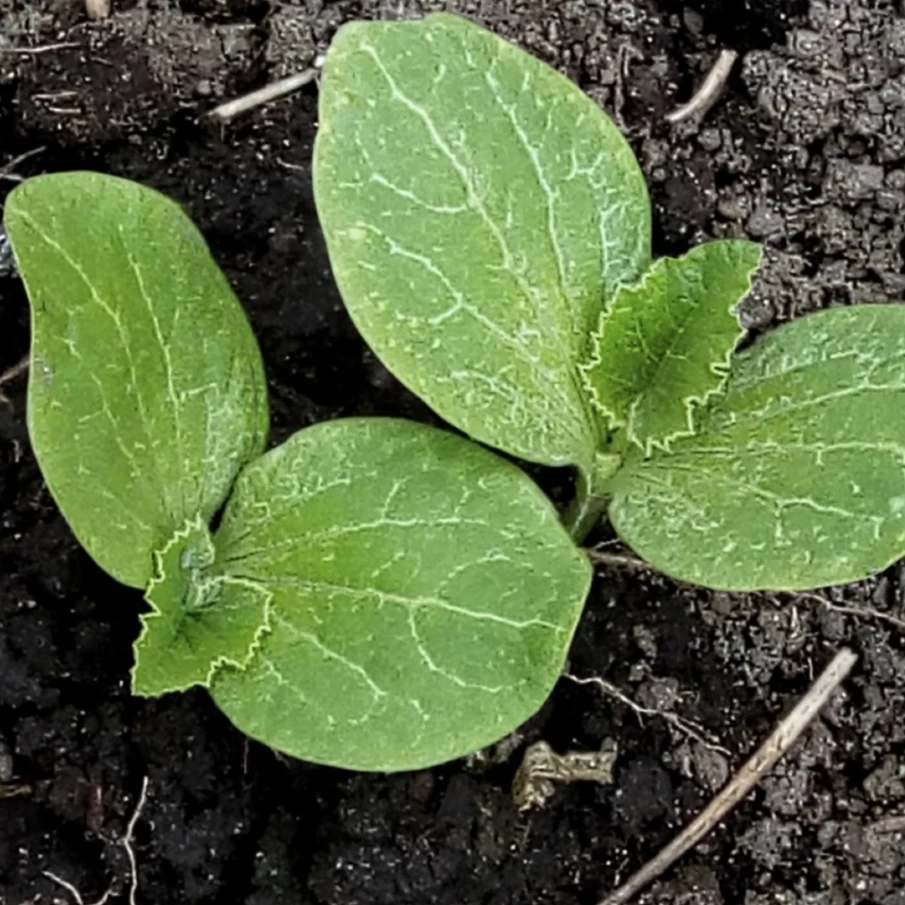
The first two leaves to appear are oval-shaped leaves known as seed leaves or cotyledons.
About a week later the first true leaves will appear.
During hot weather, you may need to water your pumpkin plants every day or two.
After about a week of watering your pumpkin seed, you’ll observe the pumpkin seedling, the following stage in the pumpkin plant phases.
When you look at your first baby pumpkin seedling, you’ll note that it’s thicker and more robust than the others you’ve seen.
The good news is that I’ve never had lanky pumpkin plants from indoor seedlings, but they do grow quickly.
Within 1-2 weeks of germination, you should be able to move your young seedling outside.
Stage 3 – Growth of the vine
In stage 3, the pumpkin vines will grow rapidly and can reach lengths of up to 20 feet (6 meters). They may also grow 6 inches (15 cm) a day, depending on the variety.
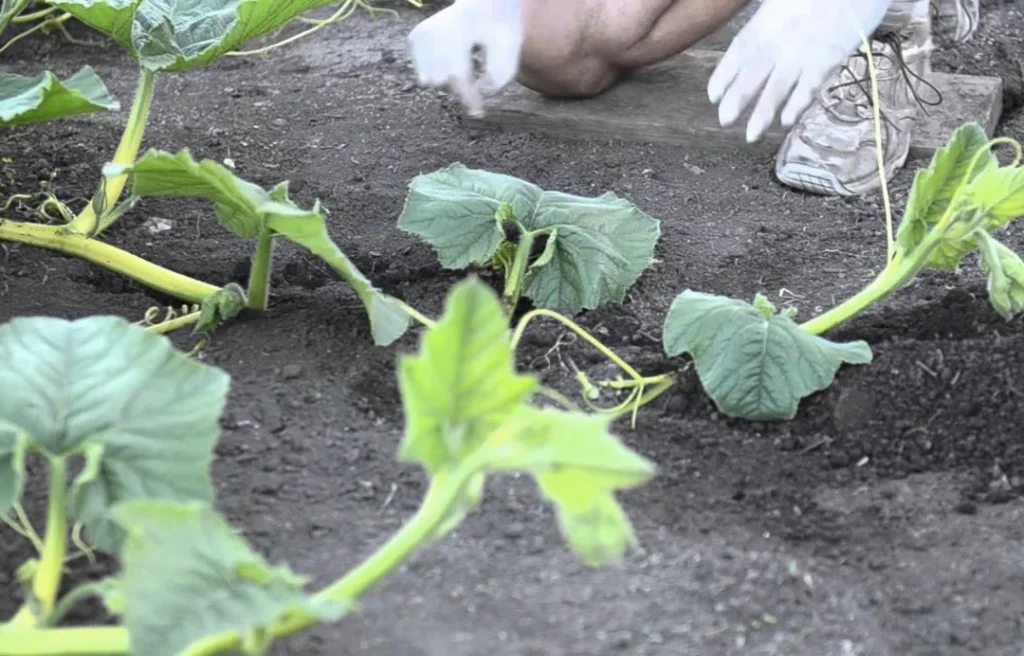
In order to prevent fungal infections, water the plants evenly but try to keep the leaves dry.
Stage 4 – Flower development
Pumpkin flowers will start to bloom 8 to 10 weeks after planting.

In stage four, flowers start to form as the individual cells in the bud develop into distinct petals. The first few cells that have become petals are called sepals and look like small leaves covering the bud. The first flower parts to appear are called cotyledons and look like a clump of leaves.
The flowers are large and bright yellow in color with a long stamen in the middle.
At this stage, you can start feeding your plants with liquid plant food every 2 weeks for an abundant crop. Flowers will bloom on the pumpkin plant 8-10 weeks after it has sprouted. Male flowers will bloom first on the shrub, followed by female flowers around 10 days later.
Female flowers open for only one day, in the early morning, lasting 4-6 hours. For the pumpkin blossom to be pollinated effectively, the conditions must be ideal.
Stage 5 – Pollination
Pollination is the process of transferring pollen from the male flowers to the female flowers.
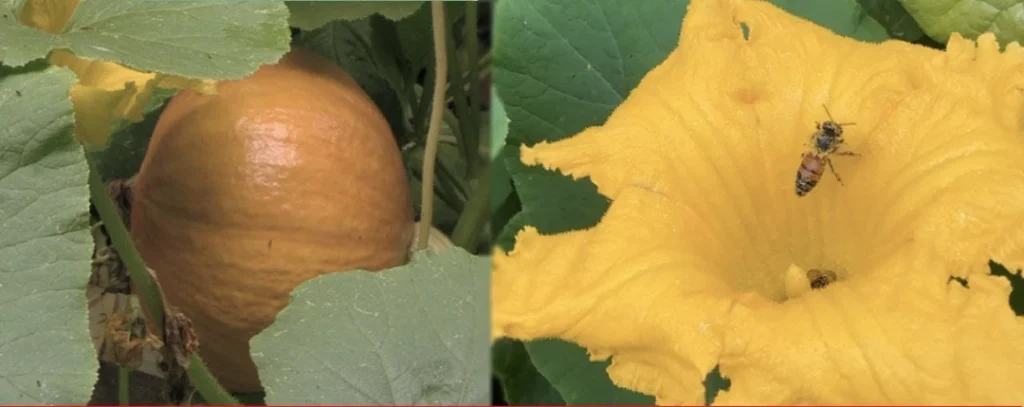
The goal of pollination is to create seedlings.
To ensure pollination happens, you should water your pumpkin vines when the first three inches of soil have dried out and pruned back the vines when fruits start growing rapidly.
When pumpkins start growing, use manure alone or with other amendments (like fertilizer) to help them grow larger and produce fruits.
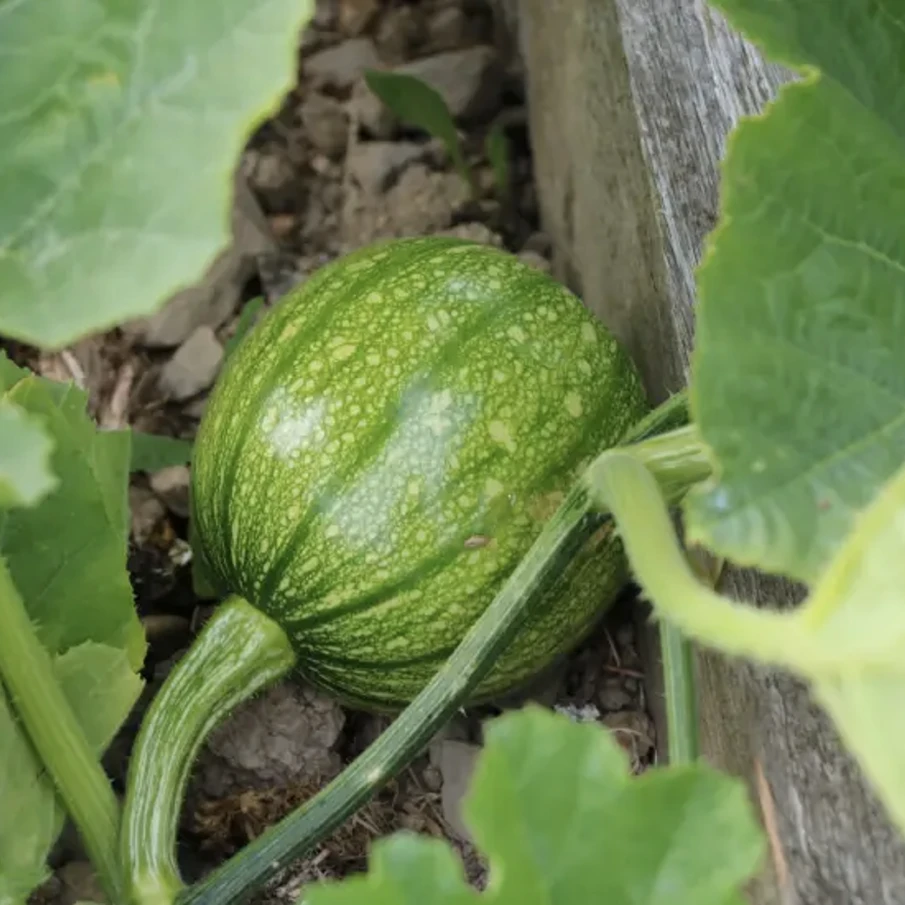
Stage 6 – Fruit development
After pollination is complete, the baby pumpkins will develop in 45-55 days.
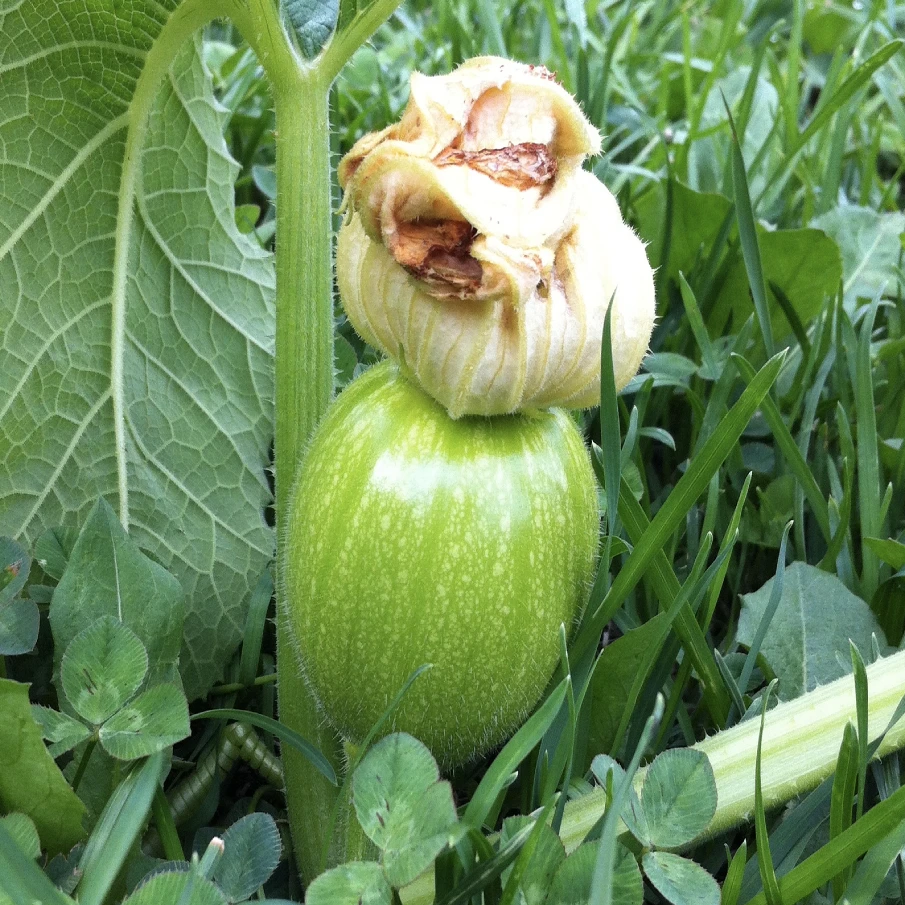
The small green fruits at the base of the flower are baby pumpkins from the pollination process.
Stage 7 – Harvesting
Pumpkins are ready to be harvested when the vine starts to turn pale brown and wither.
You can also tell if a pumpkin is ready to be harvested by tapping on the outside of the pumpkin.
Harvesting is the last stage of pumpkin growth.
Once the pumpkins have reached stage 7, it’s time for harvesting. The final step in the pumpkin growth process is to carefully cut them from the vine and bring them inside to be prepared for sale or decoration.
Curing
After the pumpkins are harvested, they must be cured outdoors for two weeks. This will improve their shelf life and keep them fresh for longer.
Curing can be done indoors if the weather is not suitable for outdoor storage. The pumpkins should be placed in a well-ventilated area, preferably on pallets or crates.
Curing is an important step in pumpkin storage because it reduces the chances of rot, increases shelf life, and improves the flavor of the pumpkin.
The most common way to cure pumpkins is by exposing them to warm, dry air for two weeks before storing them in a cool place. Your local extension office can provide you with specific curing instructions.
What Do Pumpkin Sprouts Look Like?
Pumpkin sprouts start with two oval-shaped green leaves. You’ll later see that they grow a third more rugged leaf in the middle (see examples below:)
Here are a couple of different pictures of pumpkin sprouts.

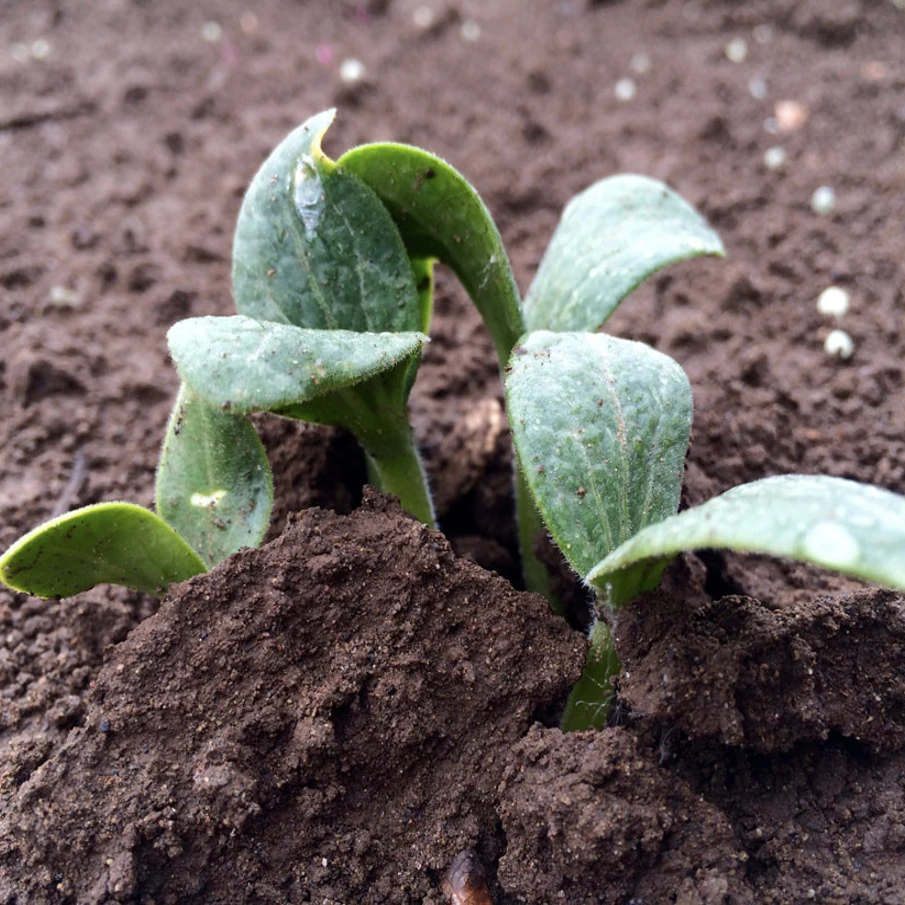

We hope these images were helpful and you know know what pumpkin sprouts do look like.
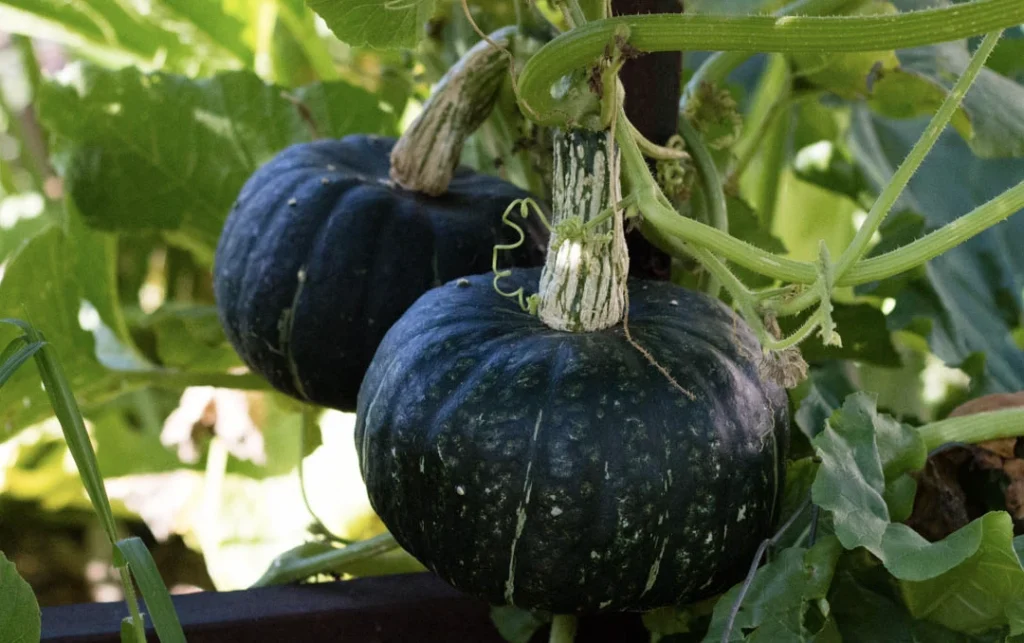
What Do Baby Pumpkins Look Like?
Baby pumpkins form on female flowers after they have successfully pollinated. Baby pumpkins need medium temperatures, water, and sunlight to grow properly.
They basically look like normal pumpkins but in a baby format.
If the weather gets too hot or dry, baby pumpkins may not reach their full potential. Here’s what a baby pumpkin plant does look like: